
Last updated November 14, 2026
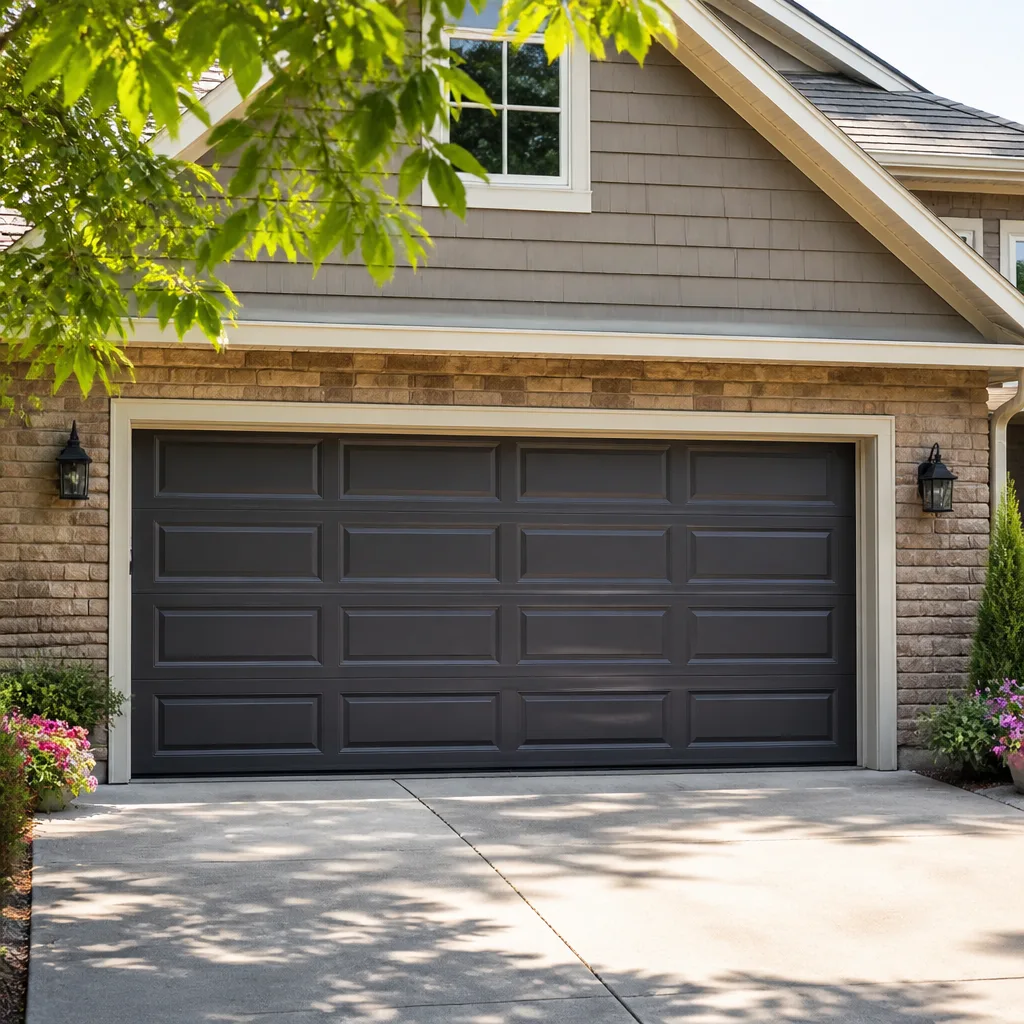 Raised-panel steel
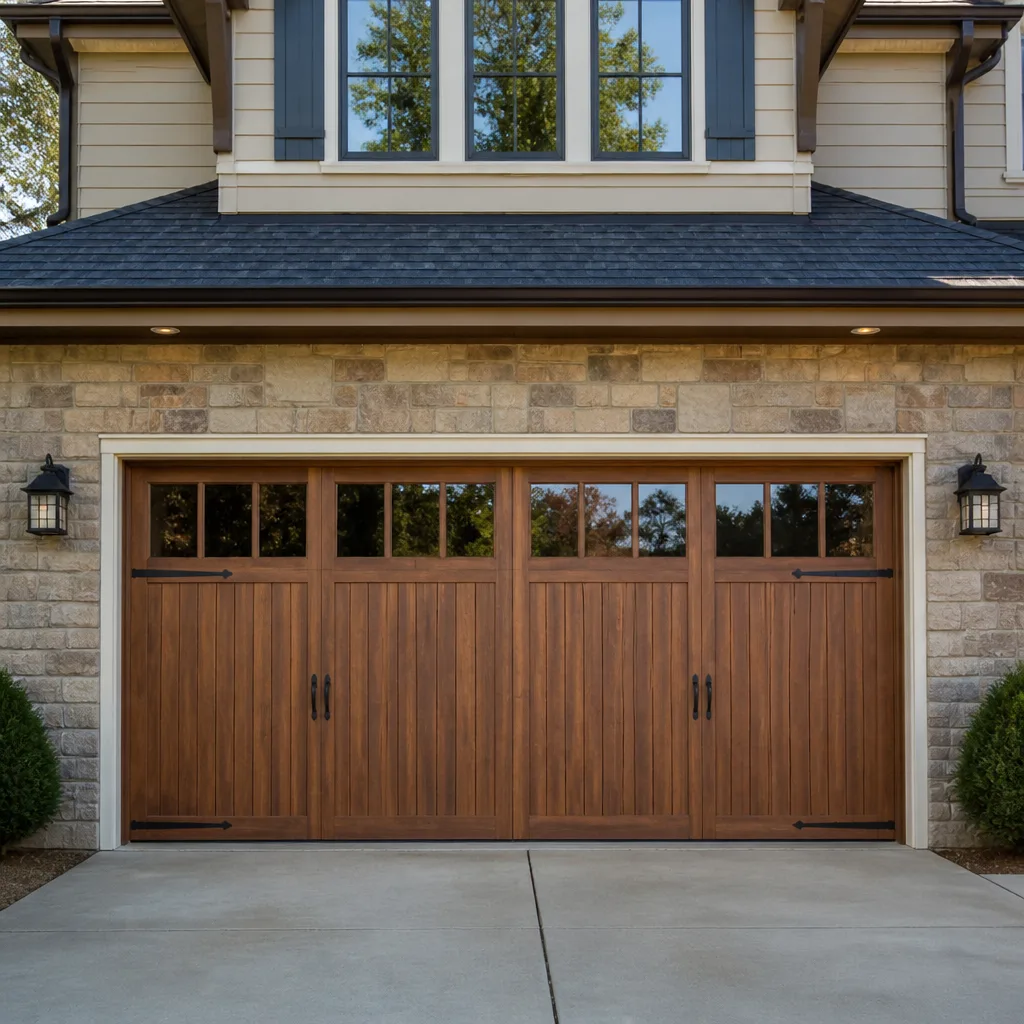 Carriage house
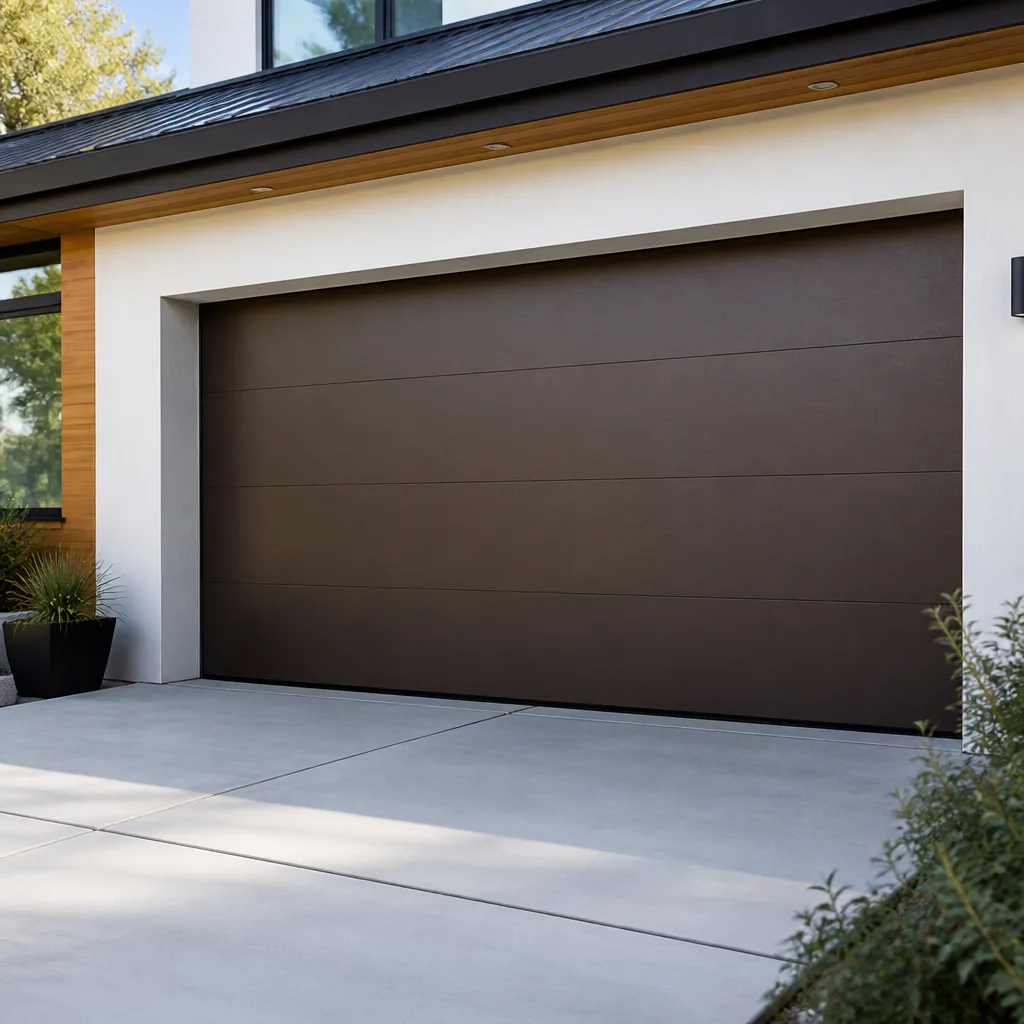 Modern flush
 Full-view glass
 LiftMaster openers
 Chamberlain openers
Full 25-point door and opener safety check with every visit - springs, cables, rollers, tracks, and your LiftMaster or Chamberlain opener included
You get a price before we start. It does not change when the pro arrives.
Get your free estimateDIY vs Professional Garage Door: The Hampton Homeowner’s Decision Guide
Most homeowners assume the DIY-versus-professional question is about skill. It isn’t. It’s about failure modes. A squeaky hinge or a misaligned photo-eye is a task where a mistake costs you an hour and a second try. A torsion spring is a task where a mistake can put you in the emergency room before you’ve registered what happened. The spring stores enormous mechanical energy, and when it releases unexpectedly it does so in a fraction of a second, with no warning and no time to move. That’s not a scare tactic. It’s the reason the DIY line is drawn where it is. In this guide, we’ll sort garage door work into three honest categories – safe to try, try with caveats, and leave it alone – and we’ll explain the mechanics behind each call so you can make your own judgment on the work you’re facing in Hampton. Our technicians have up to 11 years of experience, and we’ve watched enough DIY attempts to know which parts go fine and which don’t.
Quick Answer
Some garage door maintenance is genuinely DIY-appropriate: lubrication, tightening visible loose bolts, cleaning and aligning safety sensors, replacing batteries in remotes and keypads, and brushing off dirt and debris. The rest – torsion springs, cables, bottom brackets, track realignment after a panel has been struck, and any opener component that involves the drive system or electrical panel connection – belongs to a trained professional, not because homeowners are careless but because the physics of those components doesn’t leave room for error. In short: if a failure means a broken part and a service call, DIY is reasonable. If a failure means serious injury, hire it out. Everything in this guide falls on one side of that line or the other.
Styles & brands we work with
- Raised-panel steel
- Carriage house
- Modern flush
- Full-view glass
- LiftMaster openers
- Chamberlain openers
Table of Contents
- Where the DIY Line Actually Falls
- Safe DIY Tasks: What You Can Do Yourself
- DIY With Caveats: Proceed Carefully
- Professional-Only Work: The Non-Negotiables
- The Tools and Knowledge Gap That Makes Springs Different
- How Hampton’s Humidity Shifts Door Alignment Through the Year
- What YouTube Garage Door Tutorials Get Wrong
- How to Do the DIY Parts Right So the Finish Job Doesn’t Cost More
Where the DIY Line Actually Falls
The most useful way to think about garage door work is to ask what happens when it goes wrong. If the worst outcome is a bent bracket, a stuck door, or a half-hour of lost time, you’re in DIY territory. If the worst outcome is a broken wrist, a released spring striking someone in the face, or a door that drops through the ceiling of a parked car, that’s not a skill question at all. It’s a hazard question, and no amount of self-confidence changes a hazard.
Garage door systems also stack risks in ways that aren’t obvious until you’re in them. The door itself weighs anywhere from roughly 130 to 350 pounds depending on material, size, and insulation. The whole thing hangs on two cables, a set of springs, and a track system that keeps it moving in a straight line. Every piece is under tension, every piece is load-bearing, and the failure of any one of them can put the others into sudden motion.
There’s a second line that’s less obvious: the opener. Modern openers – Chamberlain, Genie, and the rest of the signals we service in Hampton – are electronic systems with motors, logic boards, sensor circuitry, and integrated safety features that have to be wired correctly to keep working. Some opener work is plug-and-play. Some involves the high-voltage electrical connection in the ceiling, and that’s a professional call.
We use three categories throughout this guide. They’re deliberately narrow.
- Safe DIY. Maintenance and routine adjustments where failure has no injury risk.
- DIY with caveats. Tasks where a wrong move causes damage or costs more to fix later, but you can’t get badly hurt.
- Professional-only. Tasks where a failure can cause serious injury regardless of skill or confidence.
When in doubt, default to the most conservative category. The cost of a free estimate from Dayspring Garage Door Repair is lower than the cost of a mistake in the professional-only bucket.
Safe DIY Tasks: What You Can Do Yourself
These are the jobs we’d hand to a homeowner with full confidence. They’re routine, they’re low-risk, and they make the door quieter and last longer. If you do only these throughout the year, you’ll be ahead of most Hampton homeowners.
- Lubricate hinges, rollers, and the torsion bar bearings. A garage door lubricant (not WD-40, which is a solvent, not a lubricant) applied to every hinge pivot and roller stem keeps the door quiet and the parts moving smoothly. Once or twice a year is plenty.
- Wipe down weather stripping. Dirt and grit wear down the bottom seal. A damp rag and a visual check for cracks takes five minutes.
- Tighten visibly loose bracket bolts. If you can see a bolt that’s backed off, snug it up. Do not loosen anything to “inspect” – loosening is where DIYers get into trouble.
- Clean and align the safety sensors. Both sensors at the base of the track should point toward each other and light up. Clear any debris, wipe the lenses, and gently nudge them back into alignment if they’ve been bumped.
- Replace remote and keypad batteries. Ordinary maintenance. If the remote has a light that doesn’t come on, it’s a battery issue long before it’s an opener issue.
- Clear the tracks of debris. A soft brush or vacuum takes leaves and grit out of the track without bending anything. Never apply force to a track that’s already bent.
- Balance-check the door by hand. Disconnect the opener with the release cord, lift the door halfway, and let go. A balanced door stays put. A door that drops or rises on its own has a spring tension problem – stop there and call.
None of these require special tools. A socket set, a screwdriver, and a tube of proper garage door lubricant cover the whole list. If a task calls for something bigger, it belongs in the next section. Our garage door repair page covers what routine service looks like when we handle it.
DIY With Caveats: Proceed Carefully
These jobs aren’t inherently dangerous, but a wrong move can cost hundreds in damage or leave the door worse than it started. If you’re mechanically inclined, patient, and willing to stop the moment something feels off, they’re within reach. If any of those three is missing, hand them to a professional.
- Adjusting the opener’s force and travel limits. The opener has two dials (or app-based settings on newer units) that control how hard it pushes and how far it travels. Adjusting them slightly is fine. Over-adjusting force is how doors crush objects and how motors burn out. Move in small increments and test after each change.
- Re-engaging the opener after a manual release. Usually a matter of pulling the release cord and cycling the door. Occasionally the carriage jams, and forcing it can damage the trolley. If it doesn’t slide back easily, stop.
- Resetting the opener after a power interruption. Unplug, wait, plug back in, re-pair remotes. Standard consumer electronics work. If the opener refuses to respond after a reset, the issue is usually in the logic board or the safety circuit, which is a technician call.
- Minor panel cleaning and touch-up painting. Cosmetic work on the door face is fine as long as you’re not up on a ladder over a driveway with your full weight on a panel that isn’t designed for it.
- Replacing a broken remote or keypad. Pairing a new remote to a LiftMaster, Chamberlain, Genie, or Craftsman opener is a simple follow-the-instructions job. If pairing fails on a second attempt, stop and let a technician diagnose the receiver.
The caveat here is that failure modes cost money, not limbs. That’s the honest dividing line. If the worst outcome of a mistake is a fried logic board or a door that won’t close, you’re still in this bucket. The moment the task involves anything under tension, stop reading and skip to the next section.
Professional-Only Work: The Non-Negotiables
This is the list we don’t hedge on. Every item here has a failure mode that can cause serious injury regardless of how carefully you proceed. We’re not saying a homeowner can’t try – we’re saying a homeowner shouldn’t, for the same reason we don’t suggest homeowners rewire their own electrical panel. The hazard is in the physics, not in the person.
- Torsion spring replacement or adjustment. The spring stores enough mechanical energy to lift the door, and that energy is live even when the door is closed. The only safe way to work on a torsion spring is with the proper winding bars, a full understanding of the tension system, and an assistant who knows what to do if it releases. This is the top of the professional-only list.
- Cable replacement. Cables are what actually hold the door. When they snap, they can whip with enough force to cut through a hand. They’re also under constant tension and require a specific tensioning procedure the average homeowner has no reason to know.
- Bottom bracket work. The bottom bracket is one of the most dangerous components on the entire door. It’s under tension from the cable, and a sudden release can cause severe injury. Never loosen the bottom bracket.
- Track realignment after a panel strike. A door that’s been bumped has often bent a roller or shifted a track without the homeowner noticing. Fixing the alignment requires a careful read of the whole door, not just a crowbar. Attempting this by hand often bends the track further and is a guaranteed service call plus a replacement.
- Spring failure and re-tensioning. A broken spring means the door is now unsupported. Do not operate the door. Do not try to lift it manually. The door’s weight distribution when a spring has failed is completely different from a working door.
- Opener motor or logic board replacement. Beyond the electrical connection, the drive system and the safety sensors all have to be re-calibrated after the repair. If you swap the motor and don’t recalibrate, the door will close on an object and refuse to reverse.
- Hardwired electrical connection for a new opener. Any work that involves connecting new wiring to your home’s electrical system belongs to a licensed electrician, not to a homeowner and not to us. We can work with your electrician.
- Anything involving a door that has fallen off its track. A door on the ground is now a heavy object at an unstable angle. Lifting it by hand isn’t safe. Full stop.
We’ve seen enough of these in Hampton to know the pattern: the homeowner starts a repair in the professional-only bucket, gets halfway, and calls us anyway – with the door in a worse state than when they started. That call is always welcome. Our Dayspring Garage Door Repair team handles the whole range, from spring work to opener diagnostics to full replacement, and the estimate is free.
The Tools and Knowledge Gap That Makes Springs Different
Here’s what most DIY tutorials don’t convey: the difficulty with a torsion spring isn’t the twisting motion. It’s that a wrong move has no recovery window. Winding bars, the special tools for the job, are made to a specific diameter and length because the spring tension at the wrong moment has no give. Using a screwdriver or a socket extension as a substitute – and people do – is the single most common serious injury in garage door work.
The knowledge gap is in three places:
- Counter-balance. A garage door’s springs are tuned to the door’s exact weight. A door that was balanced when new is not necessarily balanced after ten years in Hampton’s humidity. Replacing a spring requires knowing the door’s weight and the correct spring for it, not just the same spring that came out.
- Tension release. When a spring releases, the energy goes into the bar, the door, or whichever body part is in the path. The reason technicians work in pairs on spring jobs is that one of the two has to control the door if something fails.
- Systemic reading. A spring doesn’t fail alone. A spring that breaks is often accompanied by a stretched cable, a slightly bent track, or a worn bearing. A technician reads the whole door, not just the failed part, because a partial fix leads to a second failure within a week.
Extension springs sit at a different risk profile. They’re under less stored tension per spring and live above the track, and the damage they cause when they fail is usually to the door rather than to a person – but “usually” is doing heavy lifting in that sentence, and the metal still whips when it breaks. On older doors in the older neighborhoods of Hampton (think around downtown or along the Phoebus side of town), extension springs without safety cables are still common. If the cables aren’t there, they’re worth adding, and that’s not a DIY fix. Extension spring work isn’t much safer than torsion work and carries its own list of injuries.
The bottom line: the tools matter, but the knowledge of how much energy is stored in the spring, and what happens when it releases, is the real gap. That knowledge is what we hire for.
How Hampton’s Humidity Shifts Door Alignment Through the Year
Garage doors are big flat things made of wood, steel, or aluminum, and they respond to the weather. In Hampton, humidity swings over the year are significant enough that a door which fits perfectly in a dry cold snap will drag against the frame by midsummer. That shift isn’t a defect. It’s the material moving with the moisture, and it has a direct effect on whether DIY adjustments are safe to attempt.
Here’s what actually happens. Wood panels absorb moisture and expand. Steel panels don’t expand, but the wood or particleboard frame behind them does. When the frame swells, the track moves a fraction of an inch. That’s enough to make a door rub, and enough to make an “easy” track adjustment into a slow, patient process. A door that closes cleanly in November can catch on one side by June, and the reverse is true in January. This is why we approach track and alignment work seasonally: the correct adjustment in Hampton is the one that works across the year, not the one that works today.
For the DIY-minded homeowner, this creates a specific trap. You notice the rubbing. You think the track needs to move. You loosen one bolt, tap the track a quarter inch, and the door works – for the moment. Three months later, the humidity drops and the door is now off in the other direction. The correct fix usually involves the hinge alignment and the spring balance, not the track, and that requires a full read of the door.
Doors in Hampton also sit in garages that see more heat and moisture than garages in drier climates. Insulation matters more than people expect, and uninsulated doors on the older homes in neighborhoods like Wythe or Buckroe Beach face bigger temperature swings than a modern insulated door. If you’re evaluating whether your door is due for replacement rather than repair, that’s a conversation worth having before another summer of adjustment.
If you’re noticing the door catching or rubbing as the seasons shift, that’s not a job for a wrench. It’s a call to a professional who understands how Hampton’s climate shapes the answer. Our garage door opener repair page covers the opener side of the same conversation, and the Hampton page is where we’ve collected the details of how we work in the area.
What YouTube Garage Door Tutorials Get Wrong
We’re not anti-YouTube. Plenty of channels do a reasonable job explaining how a door works. But there are four mistakes the typical tutorial makes, and every one of them shows up in the calls we get.
- Substituting tools. The most common bad advice is that a pair of locking pliers or a long screwdriver is “just as good” as a winding bar. It isn’t. The diameter of a winding bar is calculated to fit the winding cone snugly and to fail safely – or not at all. A screwdriver isn’t.
- Treating springs as a one-for-one swap. A spring is tuned to the door’s weight and to the number of cycles it’s expected to survive. A tutorial that says “buy the same spring” ignores that the door’s weight may have shifted as panels aged. Replacing with the wrong spring is how people end up with a door that fails twice in six months.
- Skipping the balance check after the repair. Every tutorial shows the installation. Almost none show the test: opening and closing by hand, checking the door stays halfway up, checking that the force setting on the opener is still right. If you skip that test, you don’t know if the repair worked.
- Rewiring the opener without an electrician. A tutorial that shows someone wiring a new opener into a ceiling junction box is teaching a code issue, not a door repair. The opener wiring is the homeowner’s electrical system, and that’s where the conversation should hand off to a professional.
- Encouraging track adjustment as a first move. Most misalignment isn’t a track problem. It’s a spring or hinge problem showing up as a track symptom. A track that moves usually makes the real problem worse.
- Underestimating the door’s weight. A sectional door is not a hollow-core closet door. When it comes off the track, it comes off hard, and the instinct to “just grab it” is exactly the wrong instinct.
- Assuming the opener is the problem. The most common false diagnosis in DIY tutorials is blaming the opener for a door problem. The opener is doing its job if it’s trying to lift a door that’s gotten heavier. Nine times out of ten, the opener is fine and the door needs attention.
The tutorials aren’t wrong because the presenters are careless. They’re wrong because a twenty-minute video can’t convey the reading of a door, and that reading is the actual skill.
How to Do the DIY Parts Right So the Finish Job Doesn’t Cost More
If you’re going to call a professional for the parts of the work that need one, the best thing you can do is not make their job harder while you’re waiting. Here’s how a homeowner can set up a repair call so it finishes cleanly and the estimate doesn’t grow.
- Stop the moment a repair goes sideways. Don’t force a bracket bolt that won’t thread. Don’t pry a track that won’t seat. Don’t keep the opener cycling when it’s hitting something. The cost on a professional repair triples when the tech has to undo damage before they can fix the original problem.
- Keep the door in the closed position if a spring has failed. A door without a working spring should not be cycled. If it’s stuck open, leave it open – that’s less dangerous than trying to lower it by hand. Call us and we’ll walk you through next steps.
- Write down what you tried. A short note – “replaced remote battery, door still won’t respond” – saves ten minutes on every service call. We ask the question anyway, but having the answer ready helps.
- Gather the brand and model of the door and opener. A LiftMaster, Chamberlain, Genie, Clopay, Amarr, Wayne Dalton, Craftsman, or Raynor system each has its own quirks. Knowing what’s on the door means we can diagnose the actual system, not a generic stand-in.
- Don’t lubricate anything you can’t see the full length of. Over-lubrication of the track itself (which should stay dry) is a common DIY slip. The track is not the thing that needs oiling.
- Take photos before you start. A picture of the current hinge and bracket positions means any restoration is direct, not guesswork.
We see this work often in Hampton. A homeowner reads a tutorial, gets three steps in, and the door ends up worse than when they started. That’s fine. We’d rather you call than keep going. Each of the brands we service – Chamberlain, Genie, Clopay, Amarr, and the rest – has its own approach, and we know all of them. That’s why the estimate doesn’t grow when the job is set up right.
Common Mistakes to Avoid
- Trying to replace a torsion spring without winding bars. Using a screwdriver or locking pliers puts the entire door’s stored energy behind a substitute tool. This is the single most common serious injury in garage door repair, and it happens to people who’ve watched the whole video twice.
- Assuming a door that works is a door that’s safe. A failing spring can still open the door for days or weeks before it goes. A visual inspection by a technician catches the spring that’s stretched past its service life before it fails in the middle of a Hampton morning.
- Adjusting the track when the problem is a hinge or a spring. The track is the symptom more often than the cause. In Hampton’s humidity, the door shifts with the season, and a track adjusted for August will be off by January. We see this pattern most often in older homes where the door has never been re-balanced.
- Blaming the opener for a door problem. The opener is the most visible component and the most common scapegoat. If it’s straining, the door is probably heavier than it was, and the actual fix is usually on the door itself.
- Forgetting the safety sensors when diagnosing a door that won’t close. The sensors are two small devices at the base of the track. A bumped sensor or a plugged lens is the most common reason a door reverses halfway. Check the sensor lights before calling anyone.
- Oiling the track. The track is supposed to stay dry. Oil attracts grit and debris onto the track surface, which causes premature roller wear and, ironically, more rubbing. Lubricate the hinges and rollers, not the track.
- Pairing a new opener without checking the door’s balance first. A new opener on an unbalanced door will wear out fast. Test the balance by disconnecting the opener and lifting the door halfway. If it doesn’t stay put, the door needs balanced before the opener can do its job.
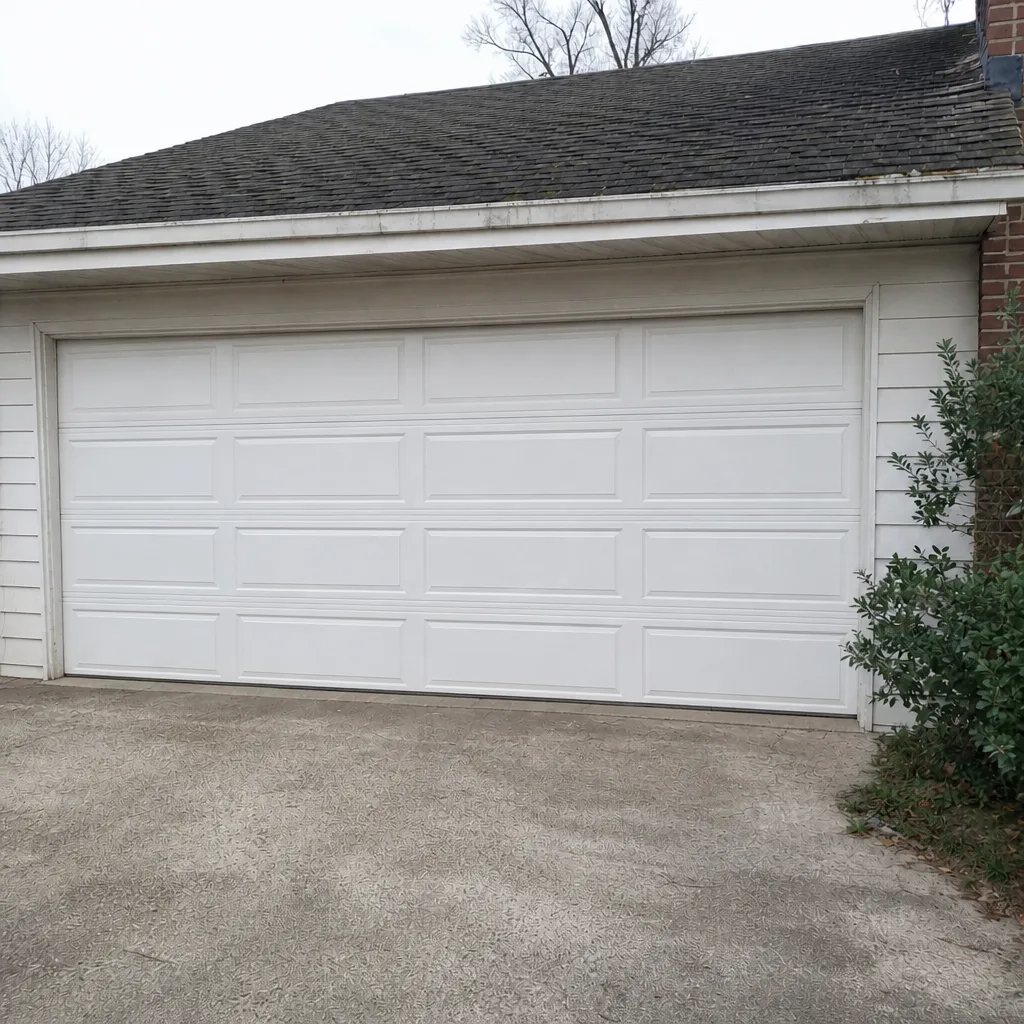
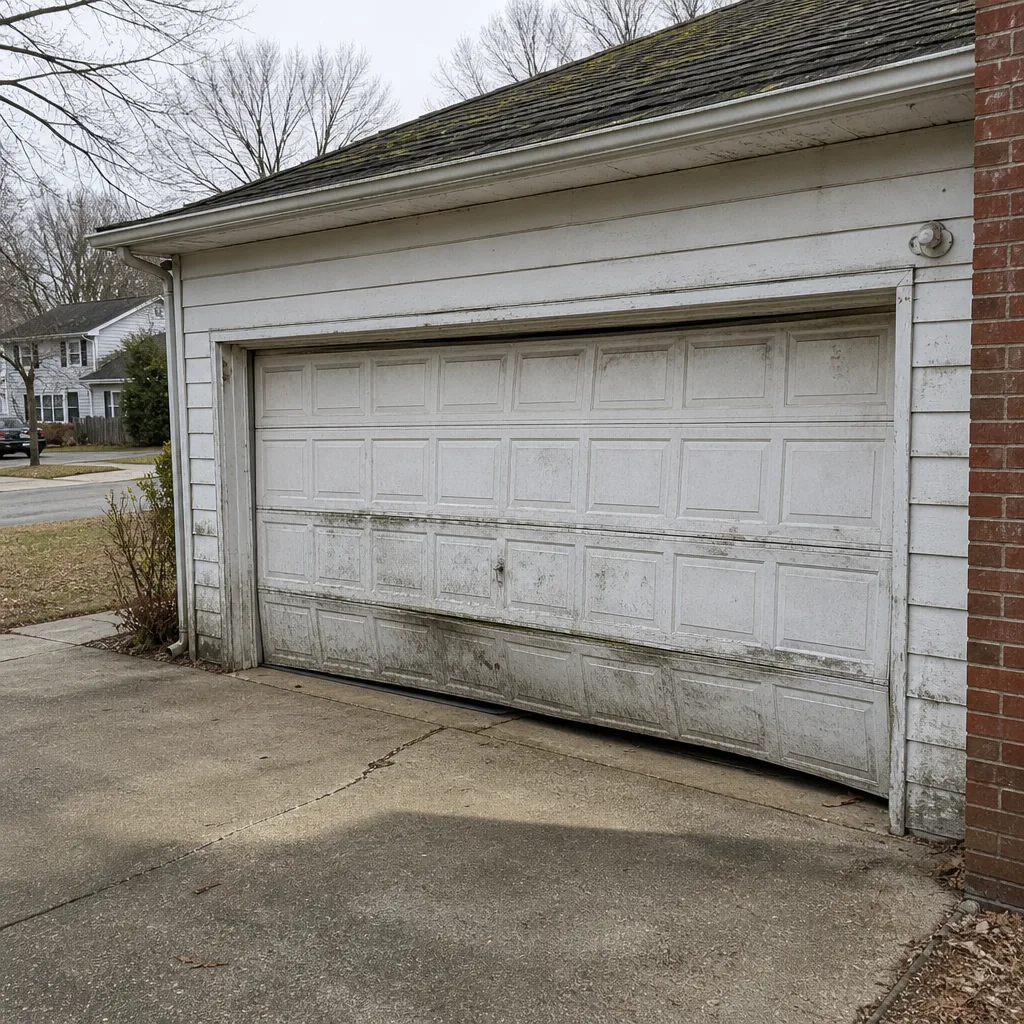
See the difference
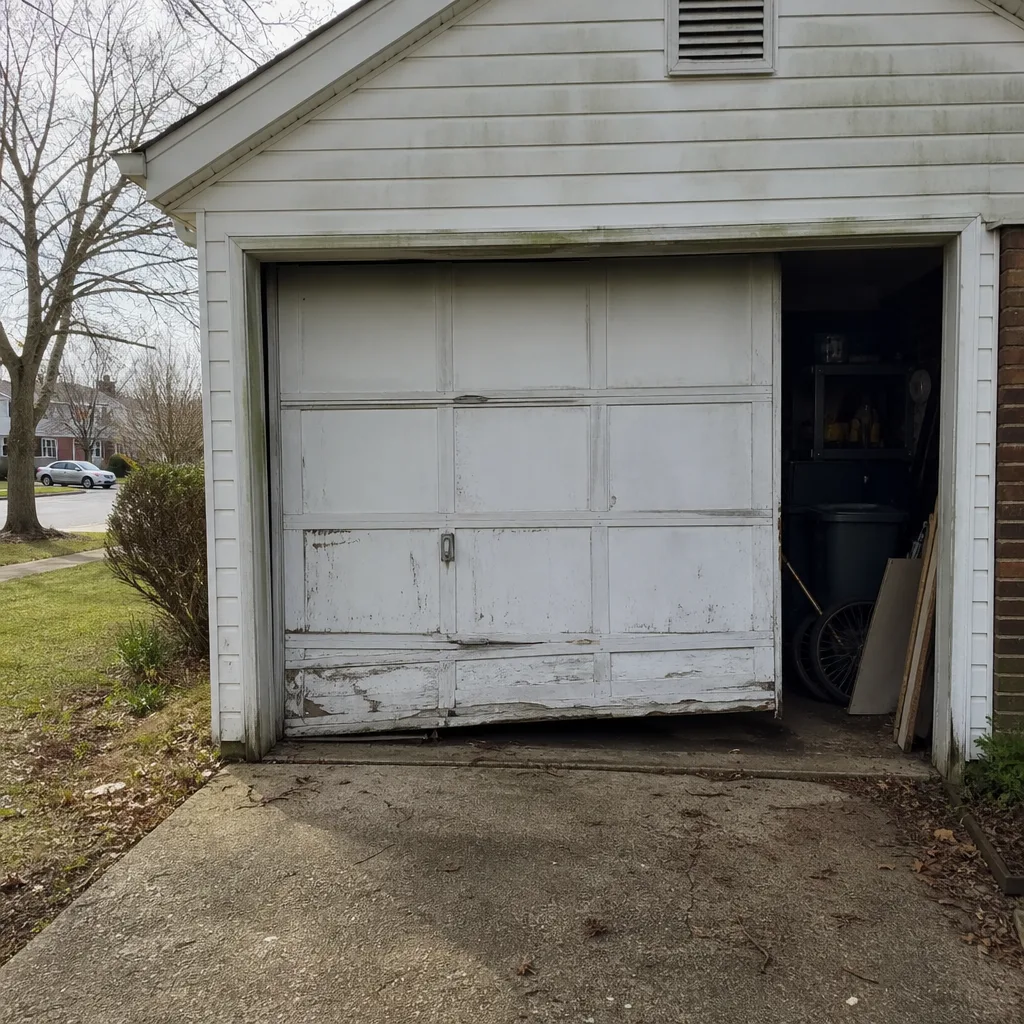 Before
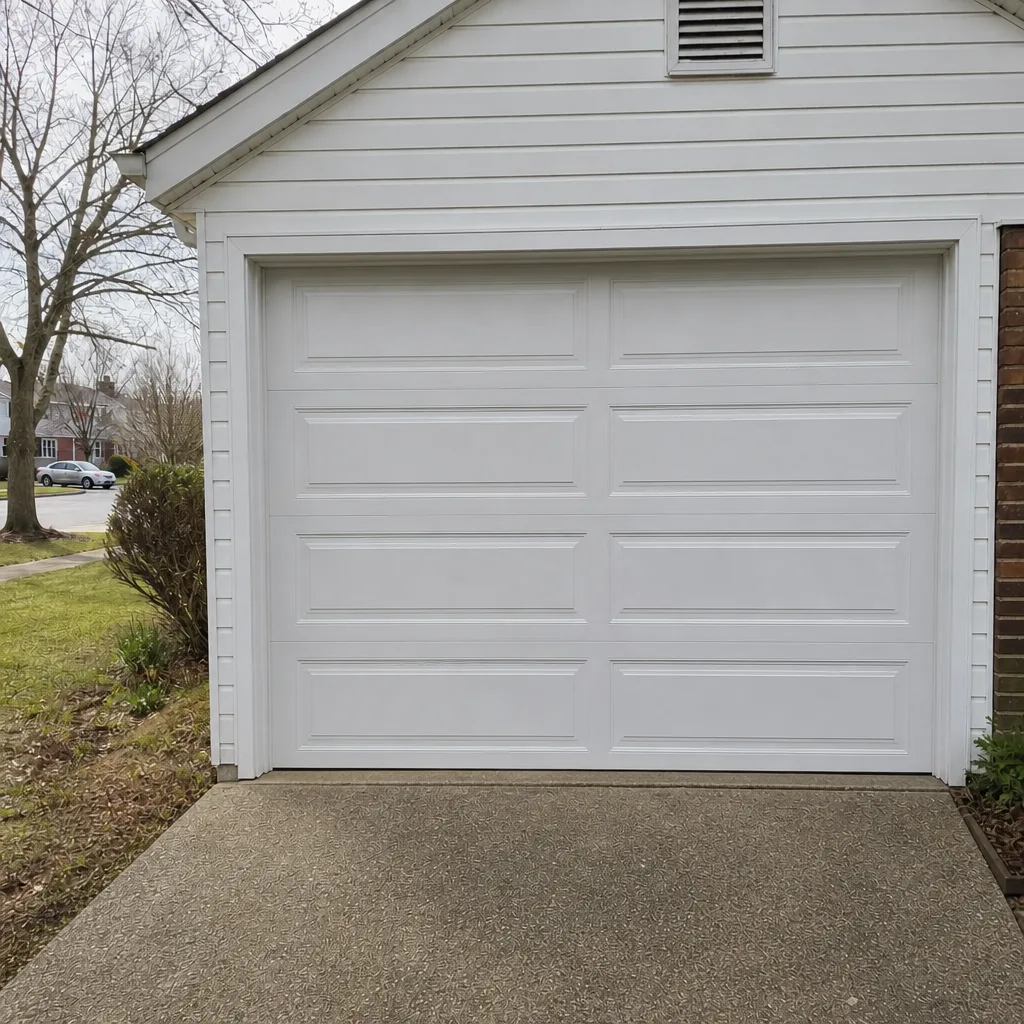 After
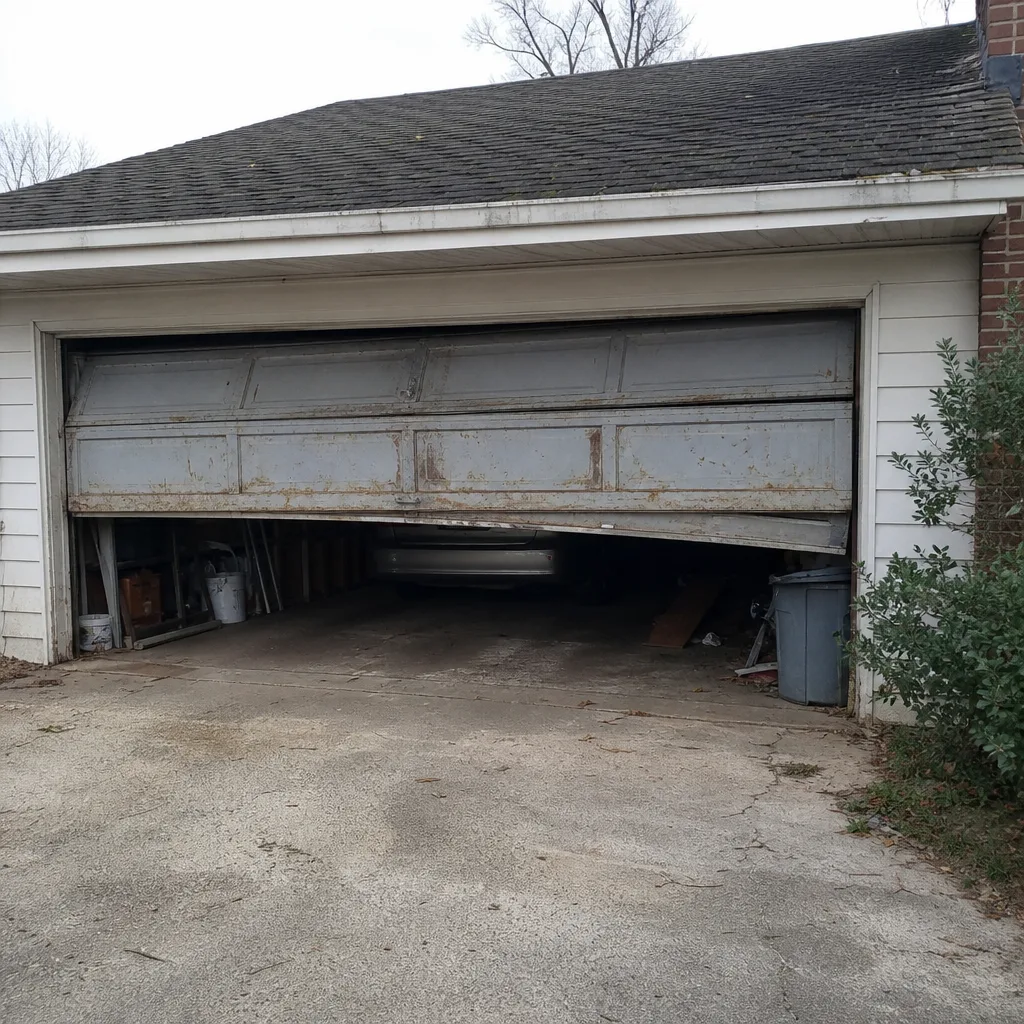 Before
 After
 Before
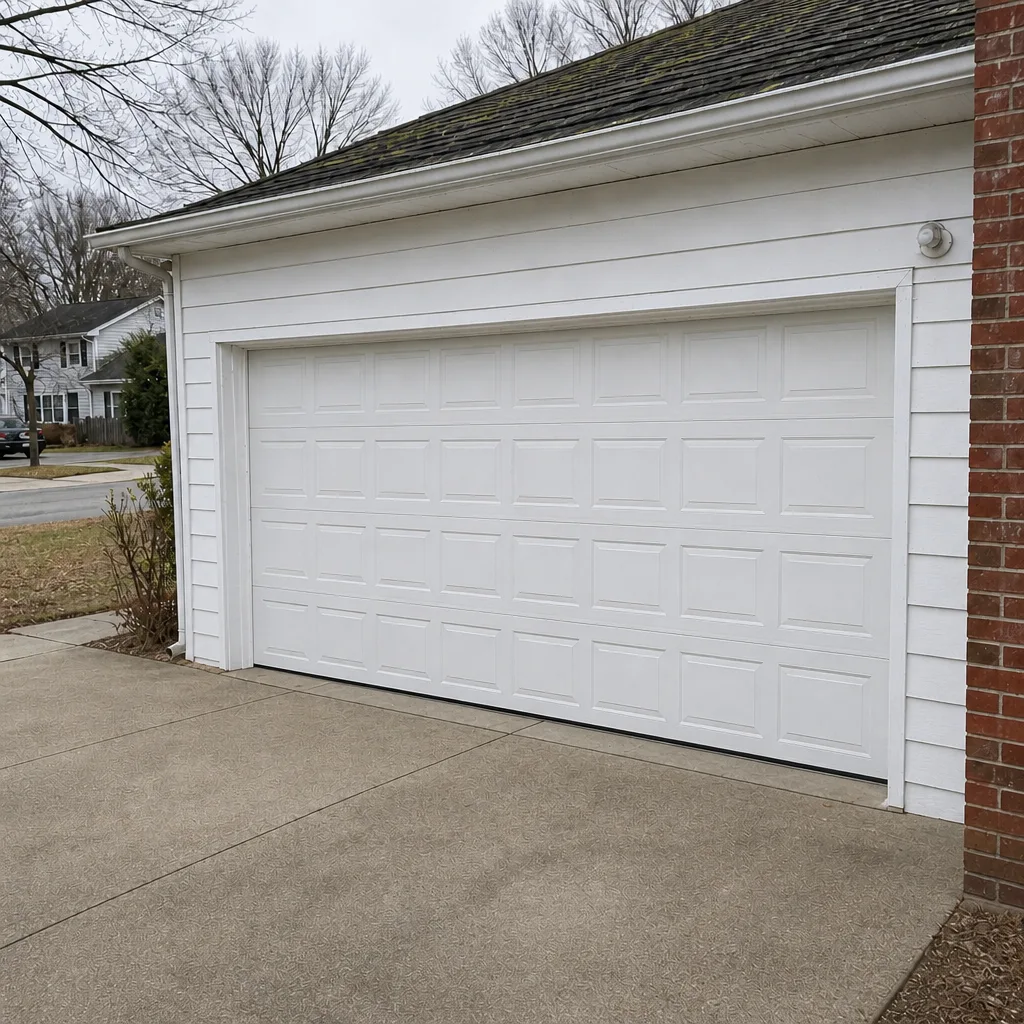 After
When to Call a Professional
Call us when the work involves springs, cables, bottom brackets, track realignment after a panel strike, opener motors, or hardwired electrical – the professional-only list in this guide. Call us also when a DIY project has gone sideways, when the door has come off its track, or when you can’t tell what’s wrong even after reading the symptoms. And call us when the door needs balancing across seasons; a Hampton door that catches in the summer and drops in the winter needs a full look at the spring, not another track adjustment. A professional sees the whole door, matches the spring to the weight, and can finish in one visit what a homeowner might stretch across three frustrating weekends. Dayspring Garage Door Repair offers free estimates in Hampton – call (866) 942-6044. We answer 24/7. Fast dispatch from 7am to 7pm, Sunday through Friday.
Frequently Asked Questions
No. Torsion spring replacement on a garage door is a professional-only job because the spring stores enough kinetic energy to cause serious injury the instant it releases, and the release happens with no warning and no time to react. Even with the proper winding bars, technicians work in pairs on spring jobs. Call us for a free estimate and we’ll replace it safely.
Once a year is a good baseline, and the ideal time is when the humidity has settled, which in Hampton is generally the drier months rather than the muggiest weeks of summer. The reason is seasonal: panels swell with humidity in summer, so an adjustment made in August may be off by January. Annual service, or a balance check the first time you notice dragging, keeps the door running consistently across the year. Call (866) 942-6044 for a free estimate.
Probably. The most common cause is a misaligned or dirty safety sensor at the base of the track, which is a safe DIY fix and takes five minutes. If the sensors are clean and aligned and the door still reverses, the opener’s travel limits or force settings need adjustment, and that’s a professional call. Call us for an exact quote – estimates are free.
The springs themselves aren’t tuned to the climate, but the door’s weight shifts with the seasons, and that matters. Humidity-swollen panels put more load on the springs in the summer than in the winter, which accelerates wear. A door that was balanced correctly five years ago may not be balanced today, and a technician can check. Call us if you’re uncertain.
Yes. Pairing a new remote or keypad to a Chamberlain, Genie, LiftMaster, or Craftsman opener is a straightforward follow-the-instructions job and is safe to do yourself. If the pairing fails on a second attempt, stop and let a technician check the receiver – the opener is the issue at that point, not the remote. Call (866) 942-6044 for a free estimate.
Leave it alone and call us. A door that’s off the track is at an unstable angle, and lifting it by hand can cause the panel to swing or drop. Do not attempt to force it back into the track – this bends the track further and is a guaranteed service call plus a track replacement. Call (866) 942-6044 for a free estimate. We answer 24/7. A call outside dispatch hours is booked into the next opening, Sunday through Friday, 7am to 7pm.
The Bottom Line
The DIY-versus-professional question isn’t about confidence or skill. It’s about failure modes. If a mistake costs you a bent track or a fried logic board, that’s still in DIY territory – try it. If a mistake can put you in the hospital, hand it to a professional – that’s the whole professional-only list, and the physics behind it doesn’t budge based on willingness. In Hampton, seasonal humidity means a door that works in July may fail in January, so the balance question is worth a professional review once a year. Do the safe tasks. Keep the door clean and lubricated. And when the door tells you it needs more than that, don’t be the person who turns a repair into a bigger repair. Our Dayspring Garage Door Repair team works with every major brand, handles repair and opener work and installation in one visit, and quotes the price in writing before anything starts. Call (866) 942-6044 to schedule a free estimate. We answer 24/7. Fast dispatch from 7am to 7pm, Sunday through Friday.
Written by the team at Dayspring Garage Door Repair.